If you’ve been using Canva to create designs for your printable or print-on-demand products, you might have noticed that the fonts that come with “glyphs”, or fun decorative elements and special characters, don’t show up as they’re displayed when you type them out.
It took me way too long to bother trying to use fonts with special characters such as glyphs and swashes in Canva, but now that I figured it out, you can’t stop me. I’m using them everywhere, probably too much. It’s like discovering how to do winged eyeliner and accidentally going overboard for the first few months to the point where your friends are like “hey maybe dial it back a bit”, but I digress.
Since I’m not one to gatekeep and I enjoy sharing this information, this post will show you exactly how to use the decorative glyphs and special characters that come with certain fonts in Canva.
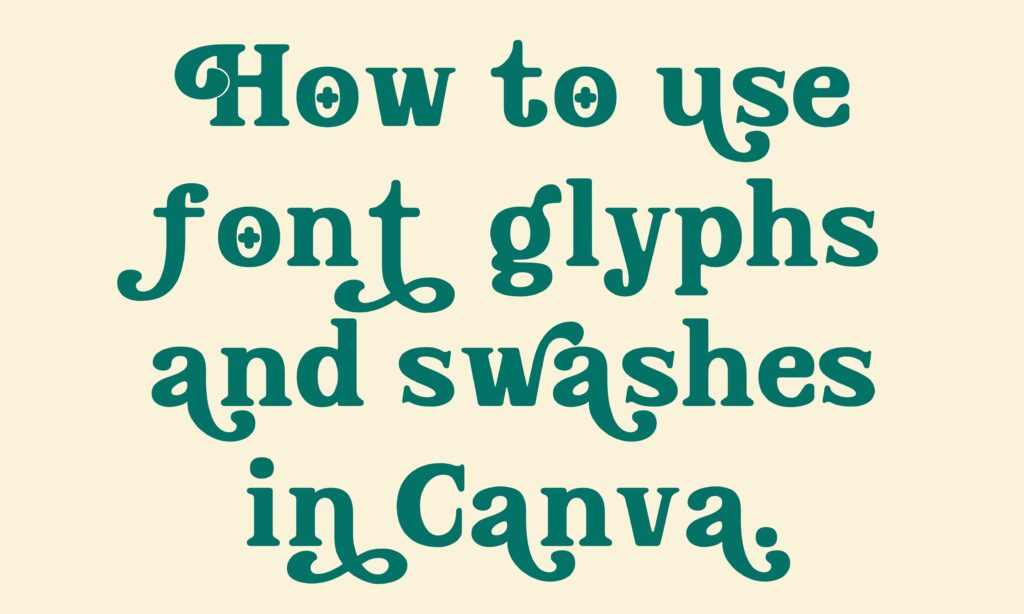
How to Add Glyphs and Swashes to Fonts in Canva
If you don’t know what I’m talking about when I say glyphs, here’s an example:
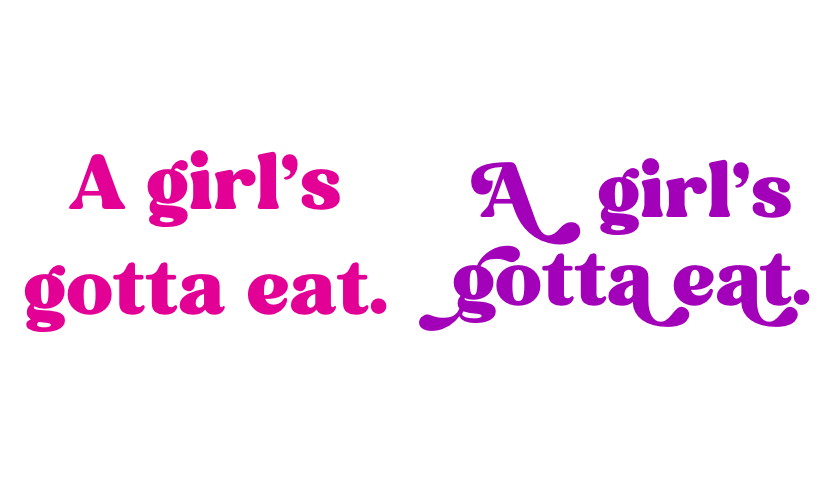
This font is called Fresh Mango, which I downloaded from Creative Fabrica. It’s one of my favorite places to buy fonts because everything is available for commercial use, so you don’t have to worry about whether it’s OK to use on products you’re selling.
The left font is typed standard without any special characters, and the right includes glyphs. Here’s what you have to do:
Step 1: Download the font to your computer
Self-explanatory. Purchase (if necessary) and download the font.
Step 2: Unzip the font folder.
The font will download as a ZIP file, so you’ll have to either double-click it if you’re on a Mac or right click and unzip if you’re on a PC to unzip the file and make the font available to upload.
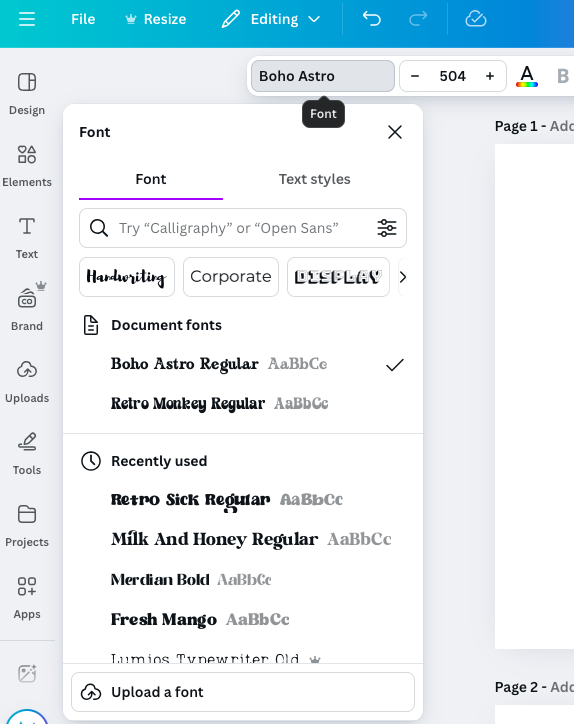
Step 3: Upload the font to Canva.
Upload the font to Canva under your brand kit, or from the bottom of the font drop-down menu when you have a design opened, as shown below where it says “upload a font”:
Step 4: Upload the font to your computer’s font library.
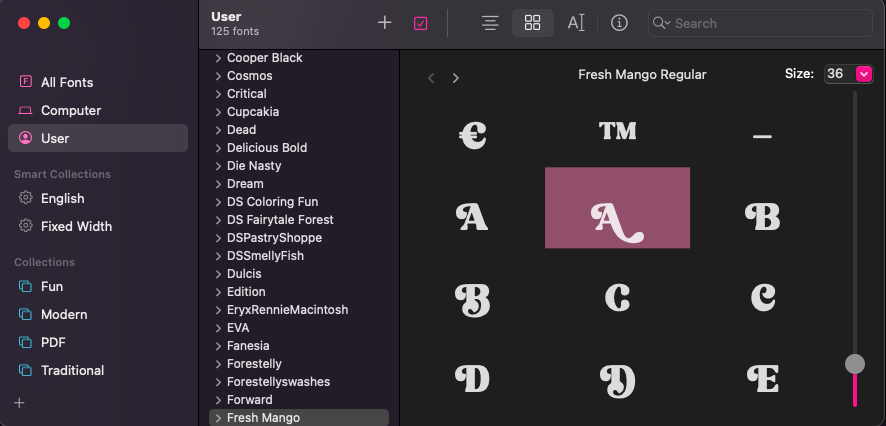
If you’re using a Macbook, the application that stores all your fonts is called Font Book, which is what I’m using. If you’re on a PC, it is called Character Map. This is where all the special characters associated with the font are stored for you to access. In Font Book, all I have to do is click file, then add font, then upload it to access all the letters and special characters such as glyphs and swashes.
Step 5: Type the words in your design.
Open a page in Canva for the design you’re making and type out the words using the font of your choice.
Step 6: Copy and paste the glyphs and swashes from Font Book/Character Map.
To add glyphs and swashes, open the font in your font book or character map. Scroll through to see all the different character options. As you’ll see in the image below, I have Fresh Mango opened in my Font Book, which includes special characters that do not automatically type out. All I have to do to add them to my design is click to copy the one I want, then paste it where that letter needs to go in my Canva design.
That’s it! Just copy from your font app, then paste it into your Canva design. I hope this is helpful on your Canva design journey!
Check out more of my free tutorials here:
30+ Digital Products You Can Make and Sell Online
Leave a Reply